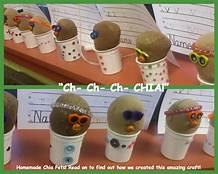
How to Make Chia Pets
Chia pets are a fun and easy project for kids and adults alike. They're also a great way to teach kids about the importance of plants and the life cycle. Here's how to make your chia pet:
Materials:
Instructions:
1. Soak the chia seeds in water for about 30 minutes. This will help them to expand and become easier to work with. 2. Drain the chia seeds and rinse them with water. 3. Add the chia seeds to the jar or container. 4. Add water to the jar or container, until the chia seeds are covered by about 1/2 inch of water. 5. Cover the jar or container with the lid and place it in a warm, dark place. 6. Check the chia seeds every day and add more water as needed. 7. After about 10 days, the chia seeds will have sprouted and started to grow. 8. Place the figurine or other object in the jar or container. 9. Cut a hole in the top of the plastic bag. 10. Place the plastic bag over the jar or container. 11. Tie the plastic bag around the jar or container. 12. Place the chia pet in a sunny window and water it regularly. 13. After about 2 weeks, the chia pet will be fully grown and you can enjoy it for months to come.
Tips:
Declaration: All article resources on this website, unless otherwise specified or labeled, are collected from online resources. If the content on this website infringes on the legitimate rights and interests of the original author, you can contact this website to delete it.